
- Your cart is currently empty.
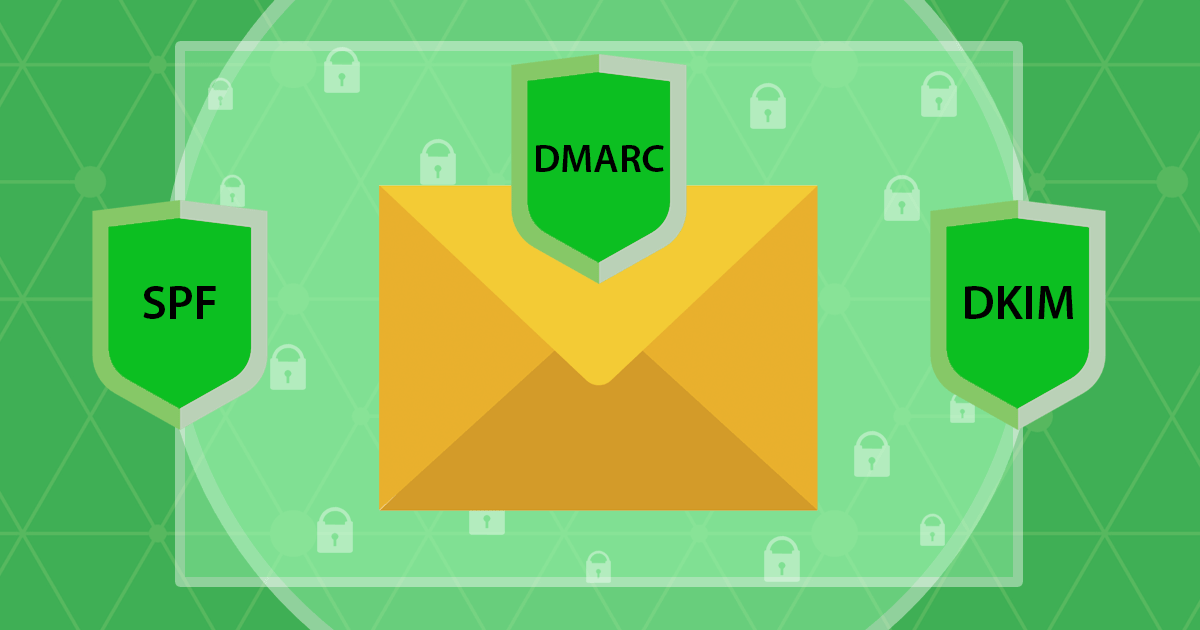
SPF, DKIM, and DMARC: A Complete Setup Guide

In 2017, more than 250 million emails are expected to be sent every day. Of these, only a fifth are legitimate, while the vast majority of the rest contain links to malicious sites or a virus attachment.
Spam has been a major problem since the rise of the internet, so it is not unusual for web developers to try to eliminate or at least mitigate the problem with a wide variety of tools. Despite the development of new technologies and tools, the percentage of spam messages is still very high.
The problem is not only for the recipients, who must always be vigilant about which messages are actually legitimate and safe, but also for the senders. Online attackers often spoof the addresses of senders, which makes recipients even more susceptible to scams and casts senders in a bad light.
Imagine you receive an unsolicited email from info@podjetje.com. Because it is a credible email address, you will trust the message more than if it had been sent from janeznovak123@yahoo.com. As a recipient, you will be more likely to fall victim to an online scam (e.g. phishing), while the sender will lose trust in you and may even end up on your blocked email list.
Although email scams are still common, the situation is improving. Significant progress has been made with the development of three email authentication security protocols: SPF, DKIM and DMARC.
As these are technically quite complex security protocols, we have tried to present them in a simplified and easy to understand format. After reading this article, you will also be familiar with how to configure the protocols in the cPanel control panel. This way, you will receive less spam and your email account name will be less likely to be used by cyber-attackers.
Two sender addresses
Before we introduce the first protocol, you should know that every email message includes two sender addresses:
- The FROM envelope address: This is the return address that tells the mail server where to reply with feedback if the message fails to arrive. It is contained in the hidden header of the e-mail message, where various technical details are recorded, e.g. to whom the message is addressed, from which IP address it was sent, in which program it was written, etc.
- The FROM header address: This is the address that is written in the “From” or “From” field. Unlike the envelope address mentioned above, the header address is visible to all email users.
It is sometimes very easy for cyber-attackers to spoof both email addresses. However, since the use of security protocols to authenticate emails, there has been much less abuse.
SPF(Sender Policy Framework)
SPF is an email security protocol that allows a domain owner to specify which mail servers are used to send emails from their domain. SPF records are entered into the Domain Name System (DNS) and represent which IP addresses are authorised to send messages.
When sending a message, the recipient’s mail server checks the SPF record by looking up the domain name in the address on the e-mail envelope. If the IP address from which the message was sent is not listed in the SPF record, the email authentication fails.
Why is this important? A domain protected by an SPF record is not as attractive to online attackers. This makes the domain much less likely to end up on a blacklist. If a domain appears on one of these lists, even perfectly legitimate messages may end up as “spam” mail or even not be successfully delivered.
Where to edit the SPF record?
NEOSERV web hosting subscribers can edit the SPF record for their email inboxes in the cPanel control panel. After logging in to the control panel, locate the “EMAIL” section and click on the “Email Deliverability” link.

Click on the Manage button for the desired domain.
As you will see, the SPF record is already configured, and it specifies the IP address of the primary server and the IP address of the secondary server to which your domain is directed.

Advanced users can edit the record as they wish (by clicking the Customize button), but for basic users we recommend that you do not change the default settings.
Have you recently changed your SPF record but your email address is still sending spam? You will need to wait between 2 and 24 hours for the DNS records to refresh and for the changes to take effect with all Internet Service Providers (ISPs).
DKIM(DomainKeys Identified Mail)
DKIM is a sophisticated security protocol that allows the sender to link a domain name to an email message to guarantee its authenticity. It could be written that DKIM is a means of verifying incoming e-mails, as it ensures that they remain unchanged and sent from the sender, who is the owner of the domain visible in the e-mail address. Authentication is performed using cryptographic authentication.
Once the DKIM record has been added to the Domain Name System (DNS), a special code – the DKIM signature– is added to selected elements of outgoing e-mail messages. At the same time, a public and a private key are created on the server, and a hash is generated from the signed parts of the e-mail message.
Before the email is sent, the hash is encrypted with a private key known only to the sender. When the recipient receives the message, he decrypts the DKIM signature with the matching public key, which means that he can verify the original hash.
The recipient then generates its own concatenated value from the individual elements of the email message containing the DKIM signature and compares it with the original. If the values match, it means:
- the message was definitely sent from the email address of the sender, who is the owner of the domain;
- the DKIM-signed elements of the message have not been modified during transmission.
Why is this important? DKIM-signed emails guarantee the authenticity of the sender and the content of the message itself. For the recipient, this means far fewer unwanted “spam” messages and reduces the possibility of scams such as phishing.
Where to edit the DKIM record?
Since NEOSERV hosting subscribers can use the cPanel control panel, the authentication of the sender and the content of the message is already taken care of. If you log into the control panel and select “Email Deliverability” under “EMAIL” and click on the Manage button for the desired domain, you will see that DKIM verification is enabled by default.

Otherwise, you don’t need to bother with any additional settings, as the optimal configuration has already been taken care of by the cPanel provider.
DMARC(Domain-based Message Authentication, Reporting and Conformance)
DMARC allows the domain owner to enter a DNS record that contains rules on what the recipients’ email servers should do with individual messages that fail SPF and DKIM checks. Possible actions are:
- Do nothing.
- Quarantine the spam.
- Reject and send a non-delivery message.
DMARC also provides a reporting mechanism to help senders understand why verification failed.
A major advantage of using DMARC is that it also addresses the shortcoming of the DKIM protocol, which has no effect on the displayed e-mail address in the message header, which is visible to the recipients of the e-mail. DMARC therefore ensures that the email address displayed in the “From” field is the same as the address on the email envelope.
Why is this important? Using DMARC rules in combination with SPF and DKIM checking means less spam for email recipients and a much lower likelihood of falling victim to online phishing. In turn, it helps to increase the reputation of senders and makes it less likely that their email inboxes will end up on spammers’ “blacklists”.
Where to edit the DMARC record?
DMARC is entered in the Domain Name System (DNS) as a TXT record. As you know by now, you edit DNS records in the cPanel control panel.
On the main page of the cPanel control panel, under “DOMAINS“, look for the “Zone Editor” icon. Click on it.

You will see a list of domains hosted on your hosting package. For the domain for which you want to edit the DMARC rules, click on the “Manage” link.

In the DNS zone editor you will see different types of records. To add a DMARC record, click on the “+ Add Record” button, fill in the fields and confirm the entry.

See the table below for how to fill in the fields of a DMARC record.
| Field | Setting |
|---|---|
| Name | _dmarc |
| TTL | 14400 |
| Type | TXT |
| Record | Do nothing: v=DMARC1; p=none; sp=none; rf=afrf; pct=100; ri=86400 Spam: v=DMARC1; p=quarantine; sp=none; rf=afrf; pct=100; ri=86400 Reject: v=DMARC1; p=reject; sp=none; rf=afrf; pct=100; ri=86400 |
If you want to receive a DMARC verification failure report to your email address, add this to the TXT record as well. In this case, use one of the following commands:
- v=DMARC1; p=none; sp=none; rua=mailto:info@vasadomena.si; ruf=mailto:info@vasadomena.si; rf=afrf; pct=100; ri=86400
- v=DMARC1; p=reject; sp=none; rf=afrf; pct=100; rua=mailto:info@vasadomena.si; ruf=mailto:info@vasadomena.si; ri=86400
- v=DMARC1; p=quarantine; sp=none; rua=mailto:info@vasadomena.si; ruf=mailto:info@vasadomena.si; rf=afrf; pct=100; ri=86400
Please replace the email address in the above examples(info@vasadomena.si) with your own email address.
If you use the Reject setting in the Record field, you must also add your home IP address to the SPF record. This is because DMARC checks the IP in the SPF record, and if the IP from which you are sending the email is not added, DMARC will reject the email. In this case, the SPF record should look like this:
v=spf1 +a +mx +ip4:HOME_IP_NASLOV +include:_spf.mail-neoserv.si ~all
How to check the correct functioning of email protocols?
There are several free tools on the web that you can use to check the correctness of SPF, DKIM and DMARC records. One of the most well-known is called MxToolbox, which allows you to check many other things besides the above-mentioned records.
- To check SPF, enter your domain in the box, select “SPF Record Lookup” and click on the orange button. The SPF record will be displayed and you can see if everything is working correctly.
- The same applies to the DMARC check, where you also enter your domain in the box, select “DMARC Lookup” and confirm the selection.
- To check DKIM, go to this page, enter your domain in the first field and “default” (without the quotes) in the second field. Click on the “DKIM Lookup” button and the tool will check if your DKIM record is correct.
Another very useful tool for testing your email inbox is Mail Tester, which will be especially useful if you send frequent newsletters to your subscribers.

From the email inbox you want to test, send the message you want to send to your newsletter subscribers to the email address shown. Wait a few seconds and click on the “Then check your score” button. The higher the score you receive, the lower the chance that your messages will end up as spam for the recipients.

With Mail Tester you can check the accuracy of your SPF, DKIM and DMARC records, and you will also receive a more complex analysis that will help you improve the score and results of your email marketing campaign.
COMMENT THE POST
Your comment has been successfully submitted
The comment will be visible on the page when our moderators approve it.