
- Your cart is currently empty.
WordPress Website Transfer: A Step-by-Step Guide
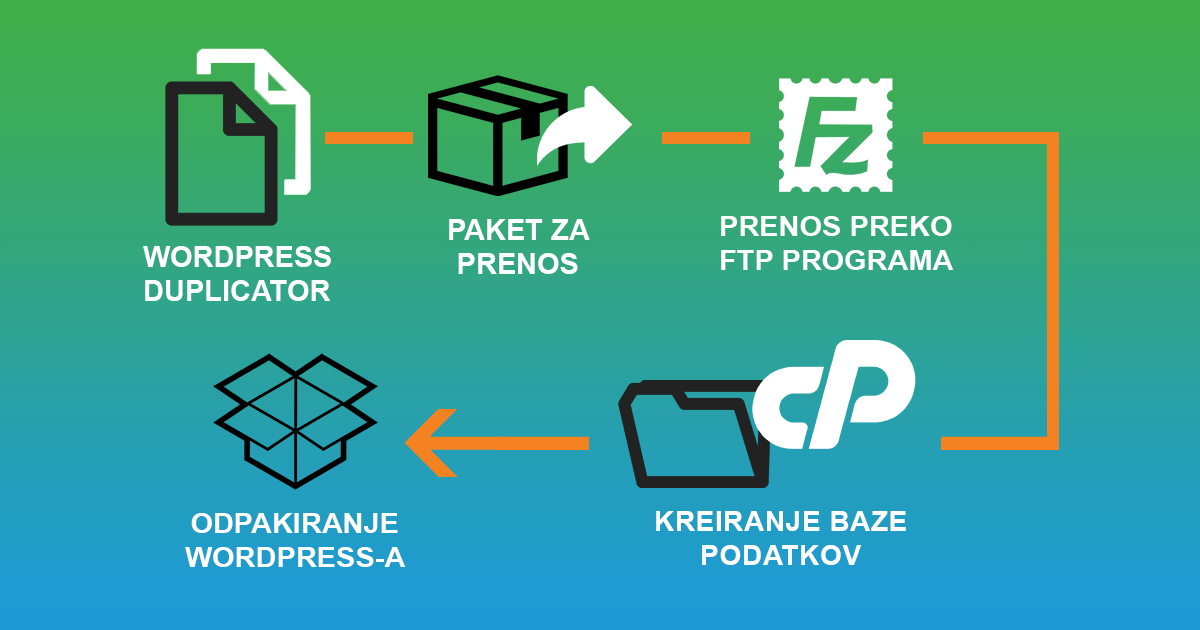

This article describes the transfer of a WordPress website from server A to server B. We will use the Duplicator plugin to transfer the website. We can also use it to transfer between folders on the same server or to transfer from a local computer to the server. The procedure is the same in all cases.
1. Installing the plugin
On the WordPress website you want to download, you will first need to install the Duplicator plugin.

You can install it in the WordPress Dashboard under Plugins-> Add New and type Duplicator in the search box. Click Install Now and after installation, select Activate Plugin.
2. Creating the download package
After successfully activating the plugin, select Duplicator -> Packages from the menu on the left . On the page that opens, select Create New. You can leave the name and other settings on this page unchanged and click Next.

In case an error has occurred, you can click on the error message and you will see a detailed description of the error, and you can correct it accordingly. If no errors have occurred, you can click Build. This will open a new page where you can download the Installer and Archive files. Save the files on your computer and do not rename them!

3. Transfer the files to the server
The files are then uploaded to the server using an FTP program (we recommend FileZilla) or using the File Manager tool found in the cPanel control panel. Be careful where you upload the files, because in that place (in the browser) you will then have to open the installer.php file you uploaded.
In case you will only have one website on your hosting, you can upload it to the public_html folder. In case you have Addon Domains on your hosting, you can upload the file to the folder of each Addon Domain.
4. Creating a database in the cPanel control panel
In the cPanel Control Panel, locate the Databases section and click on the MySQL Databases icon to create a new database by typing the name of the database in the first field (save this information for later) and click Create Database.

After you have successfully created the database, you need to add a user to manage the database, which you will use later when connecting to the database in the Duplicator plugin. We suggest that you select the Password Generator option, as the generator will create a very secure password that will be difficult for malicious scripts to figure out. Write down all the information – the database name, the user name and the user password – in a notebook on your computer.

Once you have added a user, you must designate them as the administrator of the database you have created. Under Add a User to a Database you will find two drop-down menus where you first select the user and then the database. Click the Add button.

A new window will open, where you tick the box next to All Privileges and click the Make Changes button.

5. Unpack your copy of WordPress
Run the installer.php file you uploaded in the previous steps by typing https://vasadomena.si/installer.php into your browser (Chrome, Firefox, etc.) and entering your actual domain instead of vasadomena.si. If you have uploaded the file to somewhere other than the public_html or the base folder of the domain (if you have several), you must add the folder name (example: https://vasadomena.si/dodatnamapa/installer.php) to the address mentioned above.

If you have entered the correct address in your browser, you should be taken to a page similar to the one shown in the picture above. Tick the option to accept the terms of use and click Next. In the next form, enter the database and user details you added in the previous step.
You will then enter the following information:
- Host: localhost,
- Database: (name of the database you created),
- User: (name of the user you created),
- Password: (the password that the password generator created for you).

When you click on Test Database, you should get a message that you have successfully connected to the server and the database. If it gives you an error, please double check the database name and user and the user password. Remember to also assign the user as the database administrator. After a successful connection, read the Warnings & Notices, then click on the Next button.

In the new window, check that all the paths to the folder where WordPress is installed are correct. Continue by clicking Next.

In the last step, you can see the installation report, which will warn you of any errors. Clicking on Admin Login will open the login page to the WordPress administration.
Once you’re logged in, you can check how all the pages, articles and plugins are working. Optionally, tick the Auto delete installer files after login option to delete all unnecessary installation data(Delete Reserved Files, Delete Legacy Data, Clear Build Cache).
COMMENT THE POST
Your comment has been successfully submitted
The comment will be visible on the page when our moderators approve it.