
- Your cart is currently empty.
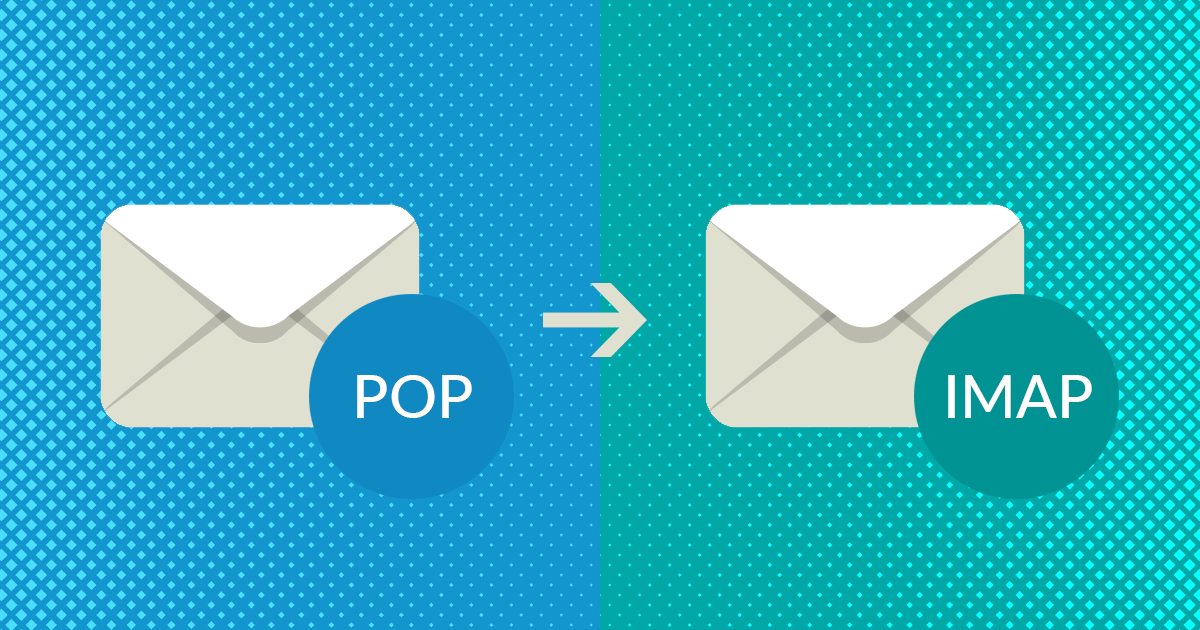
Outlook Email Setup: Switching from POP to IMAP

POP and IMAP are protocols for accessing email. POP is a protocol that establishes a connection to an email server and transfers all messages from the server to a local device (e.g. a computer, tablet or phone). The messages are then no longer accessible on the server, which also means that they cannot be accessed on other devices.
Most email clients allow you to store copies of your messages on the server. You can usually set how many days after the message has been downloaded to the local device that a copy of the message should be kept on the server. If you choose this option, it is important that you edit the setting on all local devices (e.g. both home and work computers).
As for IMAP, you can access your email on different devices, as the state in the email client (e.g. Outlook, Thunderbird, Mac Mail) is synchronised with the state on the server. For example, if you delete a message on one device, the message will be deleted on the server and, consequently, on all other devices through which you access your email inbox.
If you are using the Outlook email client and have POP configured, but would like to switch to IMAP, here is the best way to do it. Although the procedure is safe and fairly simple, we still advise you to back up your messages first. To find out how, read the post Exporting and importing emails: Outlook, Thunderbird, Mac Mail.
Table of Contents
- Change POP account settings
- Add a new IMAP account
- Transfer emails from POP to IMAP
- Make sure you use IMAP everywhere
- Remove the POP account
1. Change the POP account settings
Start the process by changing your username and the names of your outgoing and incoming servers.
1. Launch Outlook and click on File in the top left corner, then select Account Settings -> Account Settings …

2. Left-click on your email account and click on Change …

3. Change the settings “Username”, “Incoming mail server” and “Outgoing mail server (SMTP)” to any notation. For example:
- Change the username:
info@vasadomena.sitoinfo2@vasadomena.si - Change the Incoming mail server:
mail.vasadomena.sitomail.vasadomena123.si - Outgoing mail server (SMTP): change
mail.vasadomena.sitomail.vasadomena123.si

You have changed the POP account username so that you can later add an IMAP account with the correct username (two accounts with the same username cannot be used). You have changed the incoming and outgoing mail server so that if your connection to the e-mail server fails (due to the change of username), it does not block your IP address.
4. Click Next to confirm and save your changes.
Once you have confirmed your changes, Outlook will give you an error saying that it is unable to connect to the server. Ignore this error, as the point of these changes is exactly that – that the connection to the email server is disabled.
In the Outlook client toolbar, try to start the process of sending and receiving emails by clicking on the Send/Receive icon. If the program gives you an error, it means that you have successfully followed the procedure and can proceed to the next point.
2. Add a new IMAP account
Now that you have “renamed and disabled” your POP account, it is time to add a new IMAP account.
See here for instructions on how to add an IMAP account:
After you add a new IMAP account, test it. Send a test message to your other email address (e.g. Gmail) and see if you receive it there. Reply to the received message to see if you receive it in Outlook.
3. Transfer the email from POP to IMAP
At this point, you should have a “non-functioning” POP account in Outlook, where all your emails are collected, and a new, as yet empty IMAP account.
How do I transfer messages from POP to IMAP? Simply, within the POP account, click with the mouse on one of the messages in each folder, e.g. the Inbox folder, then press CTRL+A to highlight all the messages. Then drag the messages with the mouse into the corresponding IMAP folder of your account.
Repeat the process for all folders, i.e. for inboxes, outboxes, drafts, archives, deleted messages, etc.
Be patient as you move messages from one folder to another. If there are a lot of messages, the process may take a little longer. Before continuing to transfer messages from another folder, make sure that the transfer process from the first folder has been completed successfully.
4. Check that you are using IMAP everywhere
The next step is to check that you are using IMAP on all the devices you use to access your email inbox. This is because if POP is still configured on any of the devices, messages from the server will be transferred to that device. Messages will therefore no longer be on the server and, as a consequence of synchronization, will not be on the devices where you use IMAP.
However, if for some reason you would like to continue using POP on one of your devices, you need to make sure that the e-mail is not automatically deleted from the server after 14 days (this is Outlook’s default setting). In this case, please follow the procedure below:
1. In the top left corner of Outlook, click on File, then select Account Settings -> Account Settings …
2. Highlight your email account and click Change …
3. In the newly opened window, click on More Settings.

4. Scroll to the Advanced tab and in the lower part of the window, untick the setting to remove messages from the server after 14 days. Confirm by clicking OK.

The only final step is to remove the POP account you no longer need.
5. Remove the POP account
So now you can remove your POP account:
1. In the top left corner of Outlook, click File, then select Account Settings -> Account Settings …
2. Highlight your old email account. Make sure that POP/SMTP is recorded in the Type column.

3. Click the Remove button and confirm that you want to remove the email account.
You have now successfully completed the process of switching from a POP to an IMAP account.
COMMENT THE POST
Your comment has been successfully submitted
The comment will be visible on the page when our moderators approve it.