
- Your cart is currently empty.
Deploying React App on cPanel: Step-by-Step Guide

React is an open-source JavaScript library used to build interactive user interfaces. Using React, you can efficiently update only those components of your web application where data changes – without reloading the entire page.
Interestingly, React.js was developed back in 2011 by a Facebook team led by Jordan Walker. Their goal was to create a JavaScript library that combined the speed of JavaScript with a new, dynamic way of rendering or displaying pages.
Below, we’ve put together a short tutorial on how to run a React application in the cPanel dashboard.
1. Add the title of your web page in “package.json”
Open your React application. Add the “homepage” attribute to the package.json file, as shown in the image below.

The correct notation to put in the file is therefore “homepage”: “http://vasadomena.si”. Of course, you should adjust the address accordingly to your actual domain.
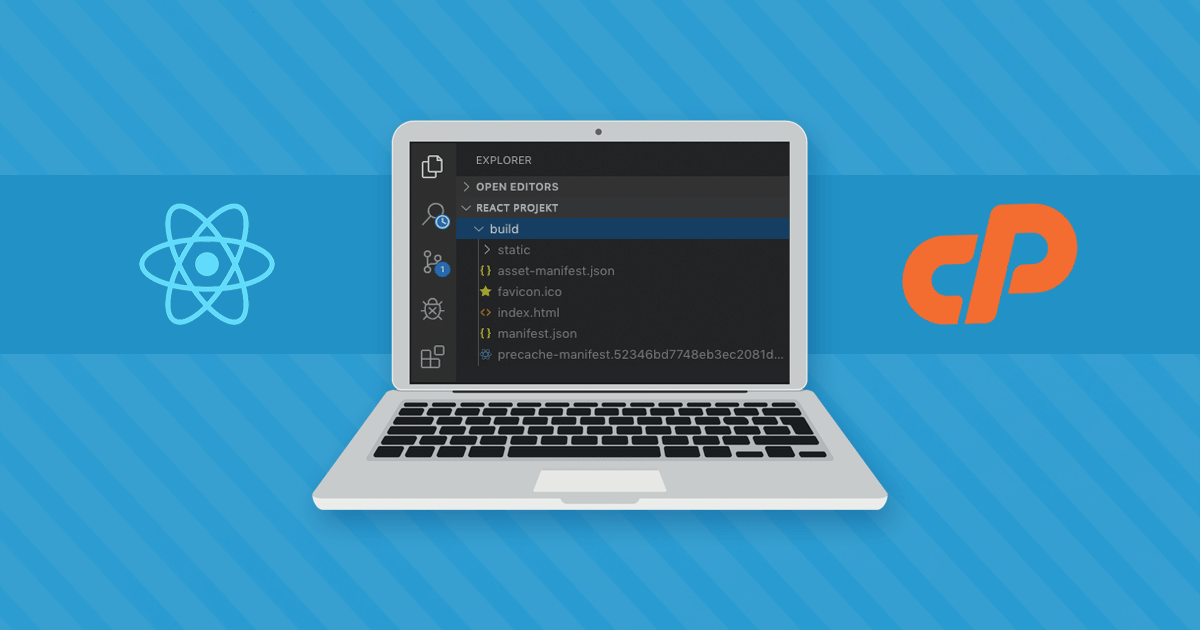
2. Create a “build” file
In the root directory, run yarn install to install the updated environment. When the process is complete, enter the yarn build command ( npm install and npm build also work).

As you will notice, this command creates a new directory in your project called build. This is a compressed file that contains everything a web browser needs to recognise and run your React application.
3. Within cPanel, navigate to the public_html folder
Log in to the cPanel control panel (login instructions). In the FILES section, locate the File Manager tool and click on it.

The File Manager will open in a new tab. In the list of folders and files, find the public_html folder and navigate to it.
4. Copy the contents of the “build” file into public_html
Navigate to the build file, which you will find in the overarching folder of your application. Open it and select its entire contents – all files and the static folder.

If you only download the build file, the process will not work.
Then upload the entire contents of the build file to the public_html folder (or to the appropriate domain folder if you are working on an add-on domain rather than a carrier domain).
5. Create the .htaccess file
To ensure that all paths work correctly in your React application, you need to create an .htaccess file.
First, make sure that you have the hidden files and folders display enabled on your hosting package. Then, in the top left corner of the File Manager, click on +File and create the .htaccess file. Make sure you put a period before the file name.

Right-click on the .htaccess file, edit it with the Edit command and add the code below.
<IfModule mod_rewrite.c>
    RewriteEngine On
    RewriteBase /
    RewriteRule ^index\.html$ - [L]
    RewriteCond %{REQUEST_FILENAME} !-f
    RewriteCond %{REQUEST_FILENAME} !-d
    RewriteCond %{REQUEST_FILENAME} !-l
    RewriteRule . /index.html [L]
</IfModule>
In the top right corner of the editor, click on the Save Changes button to save your changes.
6. Check your web application
That’s it! Visit your domain or website in your browser and you should see a fully functioning web application.
COMMENT THE POST
Your comment has been successfully submitted
The comment will be visible on the page when our moderators approve it.