
- Your cart is currently empty.
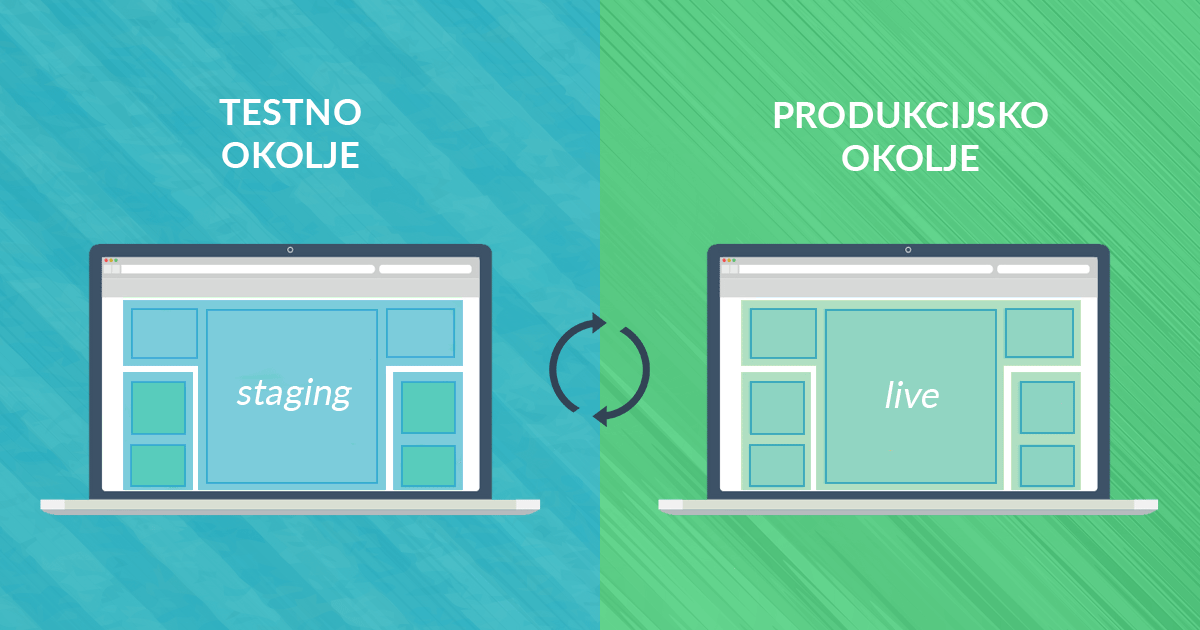
WooCommerce Staging: How to Push Data to Production

Users of the cPanel control panel can most easily set up a WooCommerce / WordPress staging environment using the Softaculous tool. Many developers working with WooCommerce stores also use the WP Staging plugin. However, regardless of the method chosen to create a test environment, a bit of caution is required.
When transferring data from the staging to the production environment, issues may occur with overwriting information related to orders, customers, and products. These data must remain intact when pushing from staging to live, which can be achieved in three different ways. Below, we’ll briefly present all three methods and then describe the best one in detail.
Table of contents
- Where does WordPress store data?
- Three data transfer options
- Exporting and importing data into WooCommerce
Where does WordPress store data?
Before we dive into the possibilities of transferring data from the test environment to the production environment, let’s take a look at where WordPress or WooCommerce stores orders, products, user information and other data such as posts and pages.
All the data is stored in a database consisting of several tables, e.g.:
- Orders and products are stored in the
wp_postsandwp_poststables, separated by a custom post type field named“order“. - Most other data, such as posts, pages, navigation elements, etc., are also stored in the
wp_postsandwp_postmetatables. - User data is stored in the
wp_usersandwp_usermetatables.
There are also other WooCommerce-related tables in the database containing data such as tax rates, order items and general settings for the online shop.
The tables in the test environment start with the prefix wpstg(x)_. In the case of WooCommerce, this prefix is followed by the woocommerce_ notation, resulting in wpstg(x)_woocommerce_.
The x in the table prefix represents the sequence number of the test environment. If we use multiple test environments, the table names will therefore start with wpstg1_, wpstg2_ and so on.
Three data transfer options
If we want to transfer certain data from the test environment to the production environment without affecting the data on orders, customers, etc., we have three options.
Export orders, customer information and other transactional data from the production site and import it into the test environment before migrating the test environment to production. This way, we can migrate the webshop from the test environment in its entirety.
If you have no knowledge of the internal structure of the database, this way of transferring the data is definitely recommended. This is also the method that we will present in more detail in the next section.
2. Exclude all tables in the database except the _options table and select only the plug-in directories and graphical templates that you want to transfer to the test environment. This way we make sure that we don’t overwrite or lose data on the production website when we transfer the data from the staging site to the live site. Most plugins store their settings in the _options table, so these settings will also be transferred to the production site when dropped.
Any other missing data that is stored in the _posts and _postmeta tables must be recreated on the production site. This is done manually after the data has been transferred from the test environment to the production environment.
3. Exclude all modified tables in the database from the process of transfer from the test environment to the production environment. If we choose this method, we will not transfer the entire test environment.
Depending on the excluded tables (e.g. _posts, _postmeta) this may lead to missing images or layout elements on the production side. Most of the time these problems occur when using a visual editor such as WPBakery and Elementor, because in this case the designs are stored in the _posts and _postmeta tables.
Exporting and importing data in WooCommerce
The best way to export orders and product and customer data is to use the export/import plugin on the production page, then import the data into the test environment before performing the push.
Before exporting orders and other data from the production environment, it is recommended to create an additional test environment. In this way, the whole process can be tested first before being exported and imported into the primary test environment.
Now let’s take a look at how to synchronise the test environment with production in seven steps.
1. First, set the webshop to Under Maintenance mode.
2. We install the Sequential Order Number for WooCommerce plugin in both the production and test environments, which ensures that the order sequence numbers do not change on import.
This could happen because the WooCommerce order ID is based on the WordPress post ID, which is a unique number. If the post ID was already used on the test environment, a new ID would be added to the imported order.
The plugin adds a new entry to the database that stores the order ID in a separate field. This allows the webshop to store the order IDs separately and independently from the post IDs.
3. In both the production and test environments, we add the Order Export & Order Import for WooCommerce plugin, which will allow us to easily export and import order data.
4. Now it’s time to export the orders from the production environment. In the admin area of the production webshop, navigate to WebToffee Import Export -> Export, select Order as the contribution type and click on the Select an Export method button.
")
Then select the Quick export method and click Export in the next step. This generates a CSV file which is saved on your computer.
5. Log in to the administration of the staging environment where you will delete all orders. To do this, navigate to WooCommerce -> Orders, select all orders and move them to the Trash.

It is important to delete all orders as they will be re-imported in the next step via the CSV file generated earlier.
6. Now we will import the orders into the test environment. Navigate to WebToffee Import Export -> Import, select Order as the contribution type again and click on the Select import method button.
")
Specify the Quick method again, and then select the CSV file that you have recently saved on your computer. Click on the Import button to confirm the import process.
")
After this step, all orders should be imported into the test environment.
When importing orders into the test environment, there may be a conflict between order IDs and article, page or attachment IDs. This happens if new articles, pages, etc. have been added to the test environment. The Importing order(ID) conflicts with an existing post error appears, shown in the following figure.

What can we do if there is a problem? We need to open the CSV file that we exported and saved on the computer (e.g. with Excel or LibreOffice) and change the order ID that caused the conflict.

As shown in the figure above, we increment the order ID number to a higher number that is not yet in use. The CSV file is then saved and re-imported into the test environment. All orders should now be successfully imported.
We have looked at how to export and import Orders in WooCommerce. We may also need to export and import Products and Users, which can be done using the Product Import Export for WooCommerce (the free version does not support variable products) and Import Export WordPress Users plugins.
7. Now we’re ready to transfer the test data to the production environment and turn off maintenance mode.
COMMENT THE POST
Your comment has been successfully submitted
The comment will be visible on the page when our moderators approve it.