
- Your cart is currently empty.
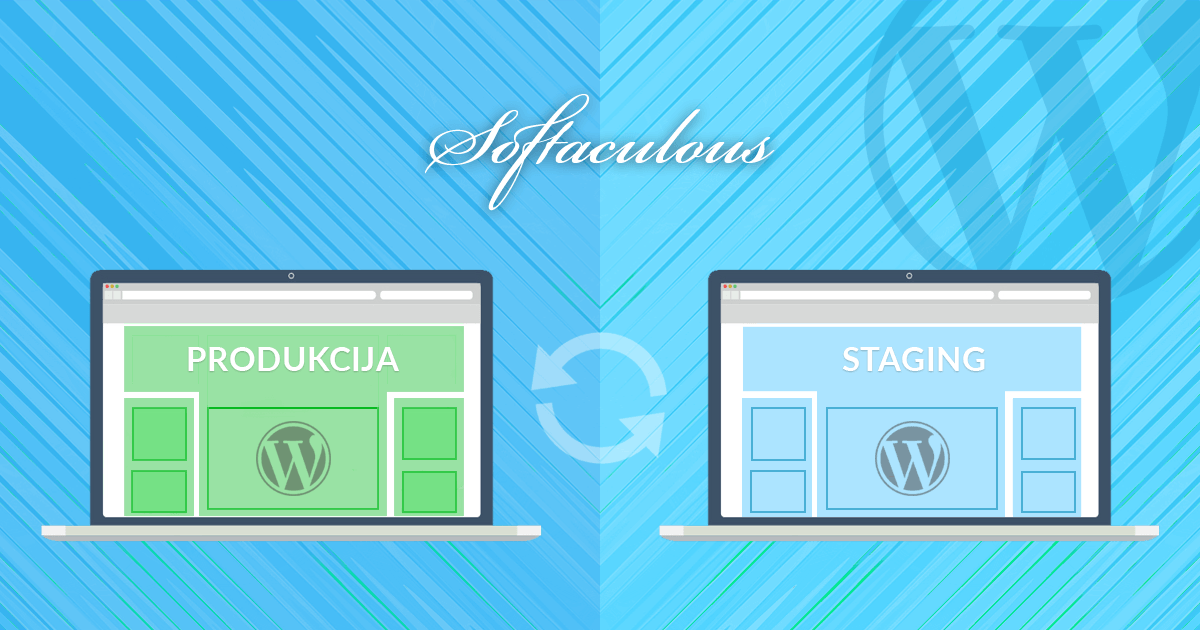
How to Set Up WordPress Staging with Softaculous

Do you want to update your WordPress website, maybe even your online shop, but are worried that the update might cause problems? Are you about to try out a new plugin, but don’t want to do it directly on the production site that your web visitors access? The solution is obvious: set up a test or staging environment!
A staging environment is a duplicate of your website and is basically designed for testing. When you set up a staging environment, you create an identical state to that of the original site, the only difference is that the staging environment is accessible from a different web address. It is usually created on a subdomain, but can also be created in the domain directory where the production site is located.
There are several ways to set up a WordPress staging environment. You can use a dedicated plugin, which we’ve written more about in this article, or you can set up the whole process manually. The latter is quite time-consuming, and errors can occur, especially when changing database paths, leading to a non-functioning test environment. The good news is that cPanel users can set up a staging environment much more easily using the Softaculous tool.
Instructions for setting up a staging environment (Softaculous)
Below you will learn how to use the Softaculous tool to set up a WordPress staging environment on a subdomain (example: stage.vasadomena.si). If you want to set up a staging environment on a domain directory (example: vasadomena.si/stage), skip the first part of the instructions (creating the subdomain).
- Creating the subdomain stage.vasadomena.si
- Setting up a staging environment on stage.vasadomena.si
- Transfer to the production environment: “Push to Live”
For the purpose of the instructions we used the domain vasadomena.si. This domain name also appears in the images in the rest of the paper. Please make sure that you replace vasadomena.si with your actual domain on which you want to set up your WordPress staging environment.
1. Creating the subdomain stage.vasadomena.si
1. Log in to the cPanel control panel (login instructions).
2. In the Domains section, click on the Domains icon.
 - Domains")
3. Click on the Create a New Domain button.
 – Add a New Domain")
4. In the Domain field, enter the desired subdomain, in our case we will enter stage.vasadomena.si. Make sure the box for Share document root … with “vasadomena.si” is unchecked and click Submit.
 – Creating the Subdomain stage.yourdomain.com")
5. Wait a moment for the cPanel control panel to finish creating the new subdomain.
 - uspešno kreiranje poddomene")
The process is completed in a few seconds and a notification is displayed that the subdomain has been successfully created.
2. Setting up the staging environment at stage.vasadomena.si
1. If you are not already logged in to the cPanel control panel, do so now (login instructions).
2. Within the Softaculous Apps Installer section, click on the WordPress icon.
 - Softaculous Apps Installer - WordPress")
3. In the list of WordPress installations, find the production site you want to build a test environment on (in our case https://www.vasadomena.si). Then, on the right-hand side – under Options – click on the second icon: Create Staging.
 – Setting Up a Staging Environment (1)")
If you installed WordPress manually on your web hosting package or your website was downloaded from another server, the installation list in Softaculous will most likely be empty. In this case, please see the instructions on how to import WordPress into Softaculous.
4. You will be taken to the Staging WordPress page, where you can edit the settings for setting up a test environment.
 – Setting Up a Staging Environment (2)")
-
- Live Installation URL: This displays the “original” website (
https://www.vasadomena.si). - Choose Installation URL: Select the appropriate protocol (1) and subdomain (2). Leave the In Directory field (3) blank.
- Live Installation URL: This displays the “original” website (
When selecting the protocol (1), please note the following: if you have installed an SSL certificate on the subdomain, select the secure protocol https://, if you have not installed an SSL certificate, select the protocol http://.
If you don’t want to set up the staging environment on a subdomain, but want to create it in the directory of the primary domain (https://www.vasadomena.si/stage), select the primary domain (vasadomena.si) in the Choose Domain field (2) and enter the directory name (stage) in the In Directory field (3).
- Database Name: this is the name of the database (4). The field is already filled in by default and you do not need to edit it.
- Disable Search Engine Visibility: tick the checkbox (5) if you want to ask the web spiders not to index your staging environment.
By ticking the box, the noindex meta tag will be added to the WordPress page source code, telling the web crawlers not to index the site. However, as spiders will not necessarily follow the directive, we advise you to prevent spiders (and visitors) from accessing your site by using the .htaccess password (instructions).
- Site Name: the name of the WordPress site (6), which, if not filled in, remains the same as the name of the production site.
5. The only thing left to do is to click on the blue Create Staging button, and then Softaculous will start the process of creating the staging environment.
 – Setting Up a Staging Environment (3)")
6. Once the staging environment is set up, a notification will appear with two links, to the staging environment and to its WordPress administration.
 – Setting Up a Staging Environment (4)")
As you can see, the process of creating a WordPress staging environment with Softaculous is really easy. Now you can log in to the administration of your new environment for testing purposes and start making updates, testing new plugins, adding your own code and so on.
3. Migrating to a production environment: “Push to Live”
Once you have finished setting up your test environment, you can use Softaculous to easily “Push to Live“, i.e. transfer the data from the staging environment to the production environment.
1. In the cPanel dashboard, click on the WordPress icon in the Softaculous Apps Installer section.
2. In the list of WordPress installations, find the test or staging site (in our case https://stage.vasadomena.si). Then on the right-hand side – under Options – click on the third icon: Push to Live.
 3. A new window will open for you to complete the process of transferring the data to the production environment. If you do not want to transfer all the database tables, select the Customize tab and edit the settings. Otherwise, stay within the Default Options tab and click on the blue Push to Live button.
 This starts the process of transferring the data from the test environment to the production environment. When the process is complete, a notification will be displayed indicating that the transfer has been successful.
COMMENT THE POST
Your comment has been successfully submitted
The comment will be visible on the page when our moderators approve it.