
- Your cart is currently empty.
How to Generate and Manage SSH Keys in cPanel
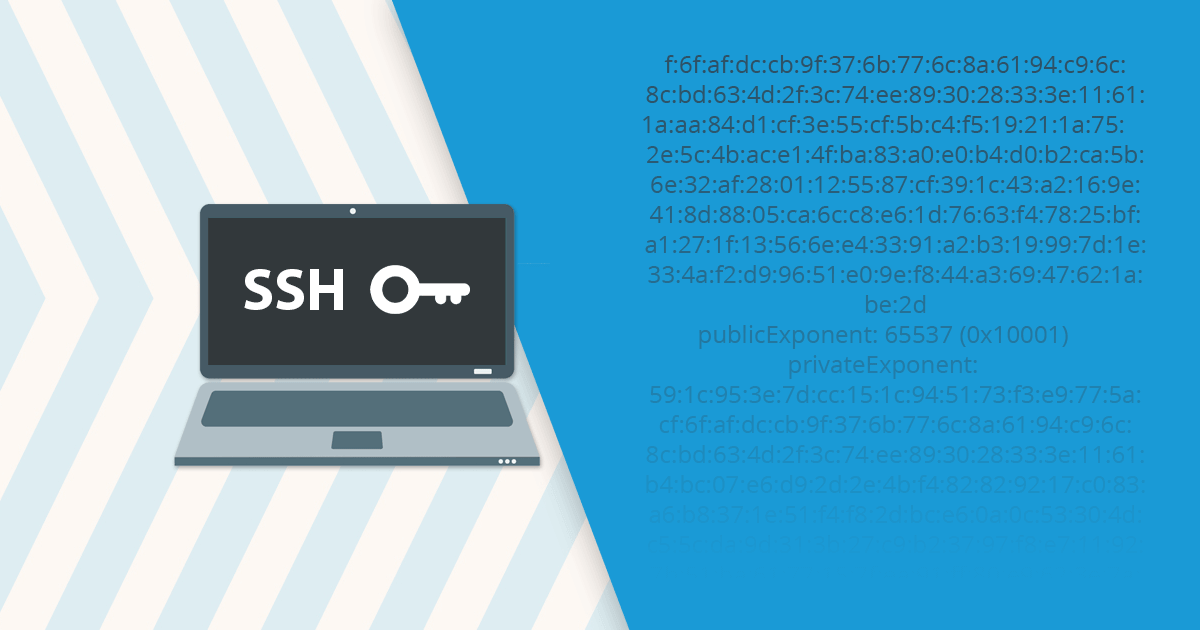

SSH keys are strings of encrypted symbols used to authenticate accounts on a server. Because they are not susceptible to brute force attacks and at the same time are not human-friendly, they are often used by advanced users to securely access a server environment.
In today’s post, we’ll show you how to create an SSH key in the cPanel control panel to access a hosting package, and then how to automate the login via the PuTTY client.
To manage SSH keys, follow this procedure:
- Find the settings for SSH key management
- Create an SSH key and authorise it
- Use the SSH key
- Automate the use of the SSH key
1. Find the SSH key management settings
Log in to the cPanel control panel(login instructions) and navigate to the SECURITY section. Find the SSH Access icon and click on it.

On this page you can read more about what SSH or an SSH key is. Under the description you will also find the Manage SSH Keys button.

Click on the Manage SSH Keys button to complete step 1. Now it’s time to create a new SSH key.
2. Create an SSH key and authorise it
By clicking on the Generate a New Key button you will create a new SSH key. If you want to use an existing one, import it by clicking Import Key.

After clicking on the button to create a new key, you will see the fields you need to fill in:
- Key Name: specify the name of the key.
- Key Password: set a strong password to protect the key (we recommend using a password generator).
- Reenter Password: re-enter the password you entered in the field above.
- Key Type: select the type of key – DSA or RSA, depending on your preference (we recommend RSA).
- Key Size: specify the size of the key – choose between 1024-, 2048- or 4096-bit length.

Once you have specified a strong password and filled in the remaining fields, click on the Generate Key button. You will see a notification, similar to the one shown below, that the key generation has been successfully completed.

At the same time as you create the public key, the private key is automatically created as SSH keys must work in pairs. However, before you can use the public key, you must authorise it. Note that you only authorise the public key, as it will be located on the server. You will store the private key yourself, using the PuTTY client for configuration.
To continue the process, click Go Back and then select Manage from the list of SSH keys.

Click Authorize to authorise the SSH key to access the account. Then click Go Back.

Now convert the private key to the .ppk format (PuTTY private key) and download it to your computer in the next step. Click on View/Download in the list next to the private key.

At the very bottom you will find a box where you can enter the password you set in one of the previous steps and click on the Convert button.

Then click on the Download Key button to download the private key to your computer (e.g. your desktop).
3. Use the SSH key
To use the SSH key, you will need a PuTTY client to establish an SSH connection to the server.
After installing the program, open the Session section and use the following settings:
- Host Name (IP Address) – Enter the host name or IP address of the server on which you have a leased hosting package. You will find this information in the My NEOSERV Subscription Centre or in the cPanel Control Panel, in the column on the right. By clicking on Server Information you will also find the name of the server. If the Server Name is sh4, the name of your host is: sh4.neoserv.si
- Port – Set the port for SSH access: 5050
- Connection type – Use the connection type: SSH
- Saved Session – Specify the name of the session you want to save or upload.

You can now add the username of your cPanel account that will be used to establish the SSH connection. To do this, navigate to the Connection / Data section and enter your username in the box above.

Once again, navigate to the Session section and save the session again so that the username you added will be used for this session.
Then upload the SSH private key you downloaded to your computer earlier. To do this, navigate to the SSH/Auth section and click Browse… selecting the .ppk file.

Navigate to the Session section again and save the session again.
4. Automate the use of the SSH key
If you connect to a server via SSH frequently or manage multiple accounts or hosting packages, it can be time-consuming to constantly enter your password. Fortunately, there are solutions that can automate this process.
Pageant
PuTTY comes with a few additional executables, including pageant.exe (the SSH authentication agent for PuTTY, PSCP, PSFTP and Plink). If for some reason you don’t have this file installed, you can download it separately.
Pageant can remember your password and then use it every time you log in to the server via an SSH connection. However, Pageant usually forgets all your keys when you close it as a security measure, so you will need to add them again the next time you restart it. Below we’ll look at how you can avoid this.
After starting Pageant, it will minimise the Pageant in the system tray. Right-click its icon and select Add Key or View Keys. Both options allow you to add a new key.

Find the .ppk file you recently downloaded to your computer and enter the password for your key. As shown in the screenshot below, you will then see your SSH key in the Pageant key list.

To avoid having to re-enter your password, go to the directory where you installed PuTTY. Right-click the pageant.exe file on your desktop and create a shortcut. Then right-click on it and select the Properties option below. Navigate to the Shortcut tab.

You will now need to edit the Target field and enter the location of the key. If you have the key stored on your desktop, you should fill in the field as follows:
"C:\Program Files\PuTTY\pageant.exe" C:\Users\Admin\Desktop\id_rsa.ppkAdjust the above path accordingly! In particular, pay attention to the Admin record, as you are most likely using a different username in your operating system. When you are sure that the path is correct, click Apply and OK. You can now run PuTTY.

If you want to automate the process further, you can eliminate the initial PuTTY startup. You can also leave this to Pageant by adding the -c command and the system path to PuTTY to the end of the Target field mentioned earlier.
"C:\Program Files\PuTTY\pageant.exe" C:\Users\Admin\Desktop\id_rsa.ppk -c "C:\Program Files\PuTTY\putty.exe"Re-confirm the new settings to complete the whole process. You can now access your hosting package, or even multiple packages on different servers, via an SSH connection – securely and with just a few clicks.
Linux OS
On Linux, you can set up login automation with a simple command in the terminal:
ssh-add ~/.ssh/id_rsaThis command loads a private key into the SSH agent, thus keeping the key in memory as long as the agent is active (e.g. until a reboot). If your key has a password, you will have to enter it once, after which each subsequent SSH connection will be established without prompting for the password again.
Windows OS
On Windows, you can achieve login automation from the PowerShell command line using OpenSSH, which is included with modern versions of Windows 10/11:
ssh-add $env:USERPROFILE\.ssh\id_rsaAgain, a password prompt will appear when the command is run, and after successful authorisation, the connection to the server will be made without entering the password again.
Note that the SSH agent must be active. This is usually started by default in a Linux environment, while in Windows OS it is started with the Start-Service ssh-agent command (in PowerShell). If you want the agent to start automatically at each system boot, add the Set-Service -Name ssh-agent -StartupType Automatic command. Otherwise, the ssh-add command will return an error or the key will remain inactive.
Using an SSH connection with key authentication increases security and speed when managing web hosting or servers. Although the initial setup is slightly more complex than using a password, it will save you time in the long run and reduce the risk of unauthorised access. And with Pageant or the built-in SSH agent in Linux or Windows OS, you can further automate login and simplify your work.
COMMENT THE POST
Your comment has been successfully submitted
The comment will be visible on the page when our moderators approve it.