
- Your cart is currently empty.
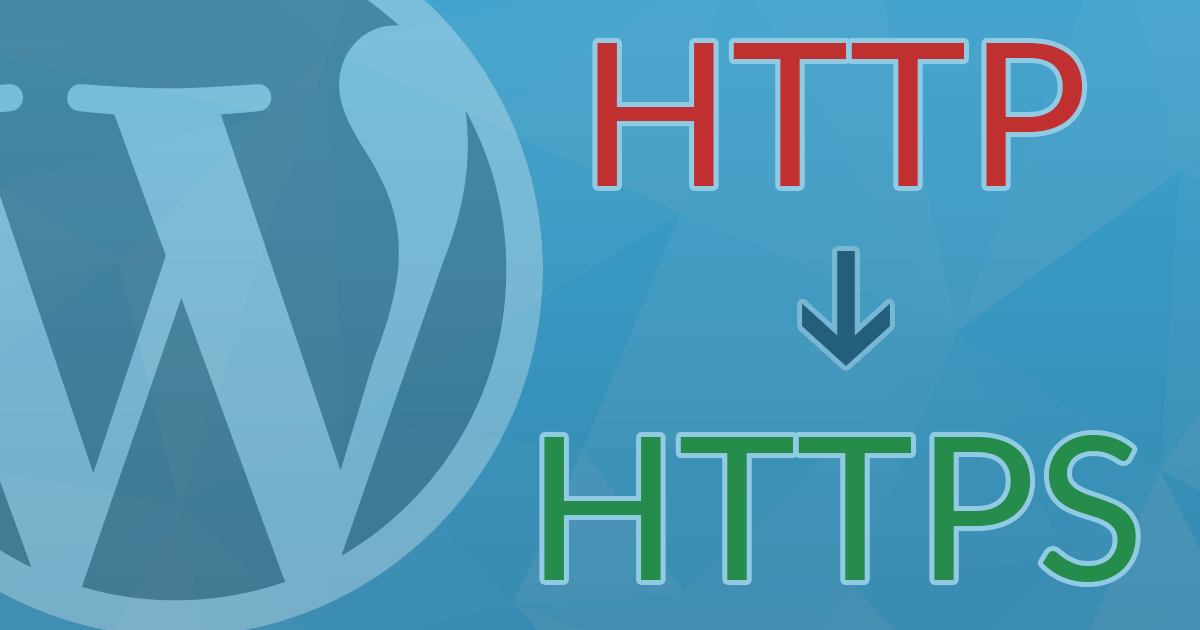
How to Migrate a WordPress Site to HTTPS

In August 2014, Google announced on its official blog that websites accessed over an HTTPS connection would receive higher search engine rankings than those accessed over an HTTP connection. This is a major step towards greater web security, as the well-known global corporation announces the start of its efforts to move to a secure protocol.
Despite the major change in security and web optimisation, many people have not chosen to move to HTTPS. Either they didn’t realise these things and simply ignored them, or they didn’t have the time to do the work. That’s why, in September 2016, Google announced on its blog an even more revolutionary idea that it would soon start to implement.
If a website does not have an SSL certificate installed and is therefore not on a secure HTTPS connection, Google Chrome will warn visitors. First just a grey “Not secure” message, then a much more prominent red one.

In the image above, you can see the warning that will be displayed next to the web address of a page that does not have an SSL certificate installed. We wrote more about this in our post Google Chrome makes HTTP go away.
However, simply installing an SSL certificate on a web page is often not enough to make the switch to HTTPS correctly. The problem is that the wrong paths are written in the databases – most of the time to the images. If you are using WordPress, you are definitely using at least one database. So by installing an SSL certificate on your chosen domain, you can still expect a security warning that will scare away visitors. A few minor “fixes” will still be needed.
Don’t worry, below we’ve put together a step-by-step guide on how to correctly move a WordPress website to an address starting with https://. Follow these four simple steps to ensure a pleasant user experience. Without any warnings …
Table of contents
- Change your web address in the WordPress administration
- Edit the 301 redirects in the .htaccess file
- Update the path records in the database
- Update path records in Elementor plugin
- Notify Google of a change to your web address
For the purposes of today’s post, we’ve assumed that you already have an SSL certificate installed on your chosen domain. If you don’t have one, we recommend you take a look at our SSL certificate offer. In this article, we will only show you how to make the switch from HTTP to HTTPS after installing the certificate.
1. Change the web address in the WordPress administration
Log in to the administration of your WordPress website that you want to move to a secured HTTPS connection or to which you have an SSL certificate installed. In the left-hand menu, hover over Settings and click on General.
Then, in the third and fourth boxes, where the URL link is written twice, enter the new address of your website.

Once you have updated the URL, scroll down the page and click on the Save Changes button. Once you click on it, you will be automatically logged out of the administration.
Edit the 301 redirects in the .htaccess file
301 Redirects should be done so that visitors who visit the old HTTP address are automatically redirected to the new HTTPS connection. The old addresses may appear on other websites, and they may also remain present in Google search for some time. How long depends entirely on the search engine itself. You can speed up the indexation of the new page – we’ve written more about this in section 4. Now let’s move on to the HTTPS switchover process.
Log in to the cPanel control panel. You can find out how to do this in this short guide. Inside the control panel, look for the File Manager icon and click on it.

In the File Manager, browse to the domain folder where you have WordPress installed.
The carrier domain of the hosting package is located in the public_html folder. If your website is hosted on a carrier domain, click on that folder on the left-hand side. Otherwise, browse to the folder with the desired domain name. It is most likely located inside the public_html folder (but not necessarily).
Since .htaccess is a hidden file, first check if your file manager shows it to you. Click on Settings in the top right corner, tick Show Hidden Files in the pop-up window and click on Save.

You are now in the base folder of the selected domain, and you can see the hidden files. Find the .htaccess file, right-click on it and select Edit. If you see a security warning, continue editing.
We recommend that you save the .htaccess file to your computer before editing. To do this, right-click on the file and select Download. A backup copy of such an important file will certainly not be superfluous!
After clicking Edit, you will see the contents of the .htaccess file in a new window. Add the following five lines to the very top:
# Force HTTPS
RewriteEngine On
RewriteCond %{HTTPS} off
RewriteRule (.*) https://%{HTTP_HOST}%{REQUEST_URI} [R=301,L]
# END Force HTTPS
Save changes.
So, with just a few lines of code, you have achieved that visitors to your website will always be redirected to an HTTPS connection. Even when they type the old HTTP address into their browser.
3. Update the path records in the database
Now log back into the WordPress administration. This time at the new link, which starts with https://. Even if you type the old link into your browser, nothing will go wrong, as the system will redirect you to the correct address due to the change in the .htaccess file.
After logging in to the administration, hover over Plugins in the left menu and select Add New. Type Better Search Replace into the search engine and install and activate the plugin with that name.

The Better Search Replace plugin is designed to change records in the database. It allows you to change both the URL of a link and any text. In the case of switching from HTTP to HTTPS protocol, we will only change the URL of the link.
After activating the plugin, hover over Tools in the left administration menu and click on Better Search Replace. Then do the following:
- In the first box(Search for), enter the old URL:
http://www.vasadomena.si
2. In the second box(Replace with), enter the new URL: https://www.vasadomena.si
If you have a website accessible at http://vasadomena.si(without the www), adjust the above two entries accordingly. So enter http://vasadomena.si in Search for and https://vasadomena.si in Replace with.
3. When selecting the database tables(Select tables), select all tables – left-click on the first table, hold down the SHIFT key on your keyboard, then click on the last table.

4. Untick the third option(Run as dry run?) and click on the Run Search/Replace button.
If you want to check first which tables and how many individual fields would be changed in the database after validation, you can leave the tick next to the third option. After the analysis is complete, remember to repeat the process, this time without the tick. Again, you will also need to tick all the tables.
Your website should now be on an HTTPS connection. The best thing to do is to “click” it a bit and check that everything is working as it should. When doing this, pay attention to the padlock icon next to the web address.
Have you noticed that everything is not quite right when you check the website? Most likely the problem is that you’re using a website builder plugin like Elementor on your WordPress website, which requires a little extra work.
4. Update the path records in the Elementor plugin
Have you checked your website carefully and found that it’s running entirely on a secure HTTPS connection? If so, you can skip this step. However, if you are using the Elementor plugin on your site and have noticed that the transition to HTTPS is not yet complete, please follow the instructions below.
1. In the site administration, navigate to Elementor -> Tools and select the Replace URL tab at the top. Enter the site address in the first box using http:// and in the second box using https://. Note also whether you are using www in the site URL. Click the Replace URL button to confirm the update of the path.
")
We advise you to arrange redirects to the new website address from both http:// and http://www.
- For example, if you use the prefix
www:http://vasadomena.si -> https://www.vasadomena.sihttp://www.vasadomena.si -> https://www.vasadomena.si
- For example, if you don’t use the prefix
wwwin your website title:http://vasadomena.si -> https://vasadomena.sihttp://www.vasadomena.si -> https://vasadomena.si
2. Scroll to the General tab and under Regenerate CSS & Data, click on the Regenerate Files & Data button. Wait a moment for the CSS files with the updated paths to be generated. Click on the Save Changes button.

3. If you are using a caching plugin (e.g. LiteSpeed Cache, WP Fastest Cache, WP Super Cache, etc.) on your website, clear the cache.
So, now your WordPress website should be fully working on a secure HTTPS connection.
If you also now notice that the landing page or individual subpages of your site are not fully working on an https connection, the problem may be related to the WordPress graphic template. Check the image paths (especially the background images) and if you find one that is still accessible on the http connection, manually remove it and add it again.
5. Notify Google of the change of web address
Even if you already have a new web address, we recommend that you notify Google of the change. To do this, add your website to the free tool for website owners. It’s called Google Search Console. The older name Google Webmaster Tools is also rarely used.
You can sign in to the tool by following this link. You sign in with the same details you use for other Google services, such as Gmail. You then need to add your domain where your website is located to the Google Search Console. Later, you enter your sitemap.
A sitemap is a file, most commonly written in XML format, that contains the URLs of a website. By adding the file to Google Search Console, you help Google to find subpages of your website faster. You can find out more about creating and submitting a sitemap in the Google Support Centre.
Have you successfully navigated through the whole process? Congratulations, by installing an SSL certificate and correctly switching to the HTTPS protocol, you’ve taken care of:
- secure data transfer between your website and its visitors,
- improved Google search engine rankings and thus more traffic to your website,
- the credibility of your website and increased trust from your visitors.
COMMENT THE POST
Your comment has been successfully submitted
The comment will be visible on the page when our moderators approve it.